Make Christmas Spirit in Photoshop
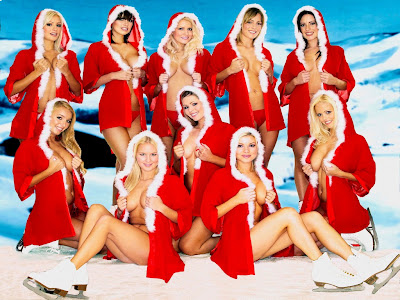
In this article we will transform a simple photo to a very nice hot christmas image by adding some stars shine around the photo. This is a very beautifil effect, with no add-on plugin.The image that we are going to use is the following:
Follow the steps:
 |
| Original Photo. |
- Ctrl - J to copy the layer. Name it "original-copy".
- Click on the new layer "original-copy" and add a new mask with the small bottom button "Add a layer mask". As you can see, a new white mask is added next to our layer.
- Click on the white mask.
- Go to Image > Apply Image. Click the Ok with the default settings.
- Make a copy of the "original-copy" by pressing Ctrl - J.
- Group these 2 copied layers by selecting them and pressing Ctrl - G.
- Rename the group to "Stars" by double clicking on the group folder.
- Expand the group "Stars"
- Select the first layer.
- Go to Filter > Blur > Motion Blur . Give an angel to 40 and a distance to 800. Click ok.
- Select the second layer.
- Go to Filter > Blur > Motion Blur . Give an angel to -40 and a distance to 800. Click ok.
- Select the first layer.
- Change the blending mode to "Screen"
- Select the second layer.
- Change the blending mode to "Screen"
- Select the first layer
- Go to Filter > Sharpen > Unsharp Mask Amount=100, Radius=20, Threshold = 0
- Select the second layer.
- Go to Filter > Sharpen > Unsharp Mask Amount=100, Radius=20, Threshold = 0
- If you want to change the colors of the stars go to Image > Adjustments > Hue-saturation
- Collapse the Group "Stars"
- Add a new layer mask on the group "Stars" Click on the mask
- Select the brush. Be sure to have black foreground and a white background. Turn the opacity to 70%.
- Brush the picture wherever you do not want to have stars.
- That is all.
 |
| Final Image. One more example: |
 |
| Happy Christmas to everyone!!! |

Σχόλια
are you going to post Final exam solutions for online db-class ??
I appreciate man